
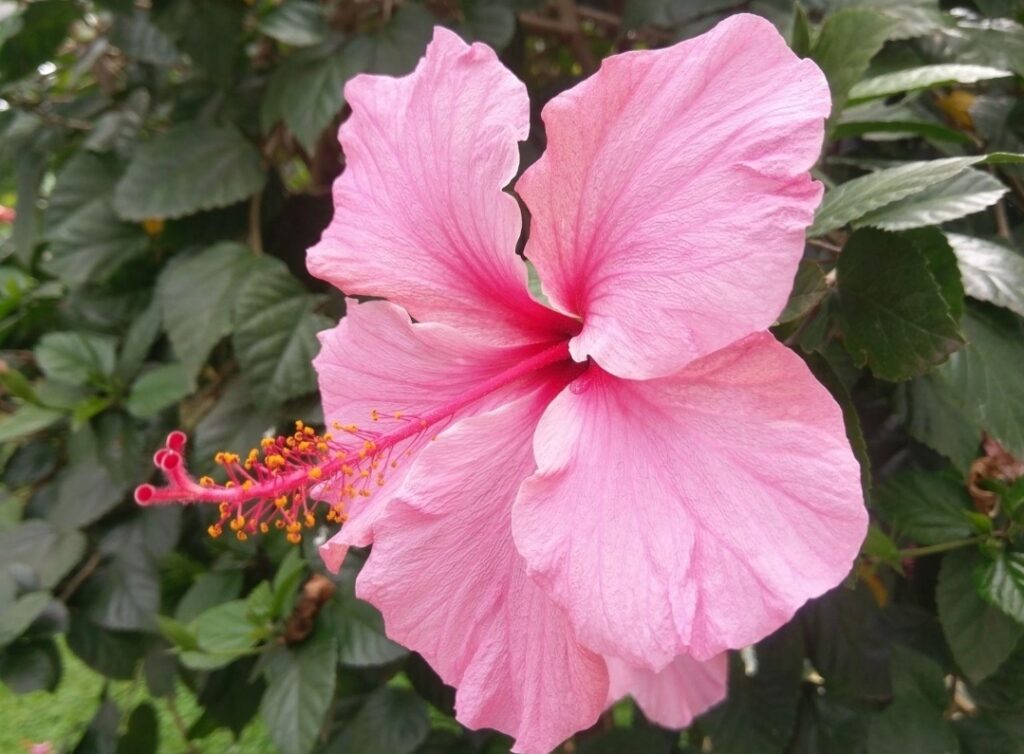
The hibiscus flower is nature’s masterpiece large, bold, and impossibly beautiful. Whether gracing a tropical garden, sitting proudly on a sunny patio, or brightening a living room corner, hibiscus plants have a way of capturing attention like few others. Their vibrant blooms in shades of crimson, coral, yellow, pink, and even purple bring a sense of exotic elegance to any space. However, these stunning flowers come with specific care requirements. Understanding what your hibiscus needs to thrive is the key to enjoying continuous, spectacular blooms throughout the growing season. In this comprehensive guide, we’ll explore everything you need to know about hibiscus care, from sunlight and watering to pruning and troubleshooting common problems.
Understanding Your Hibiscus: Tropical vs. Hardy
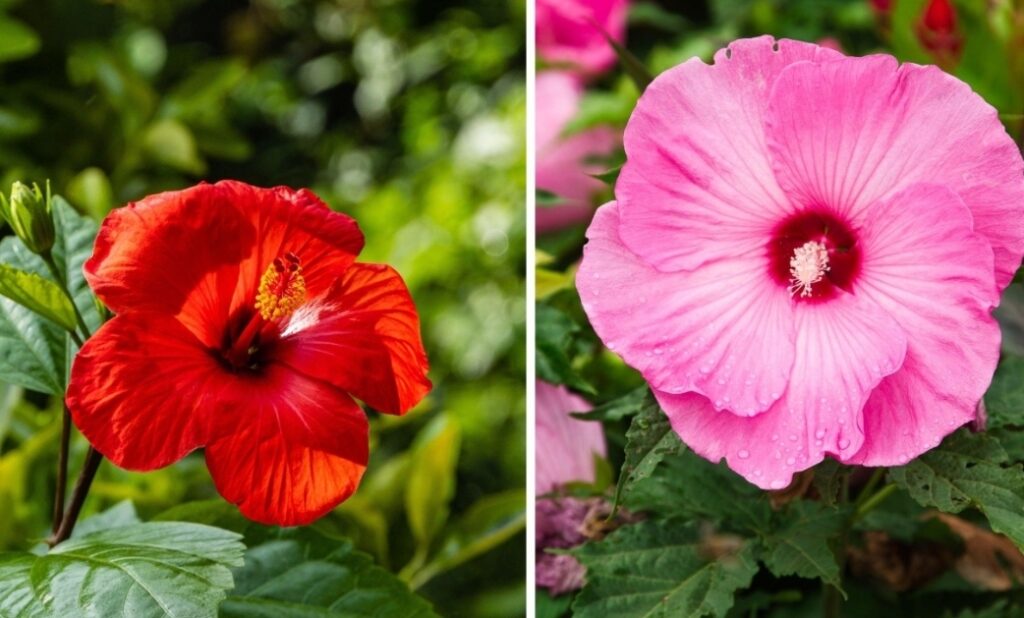
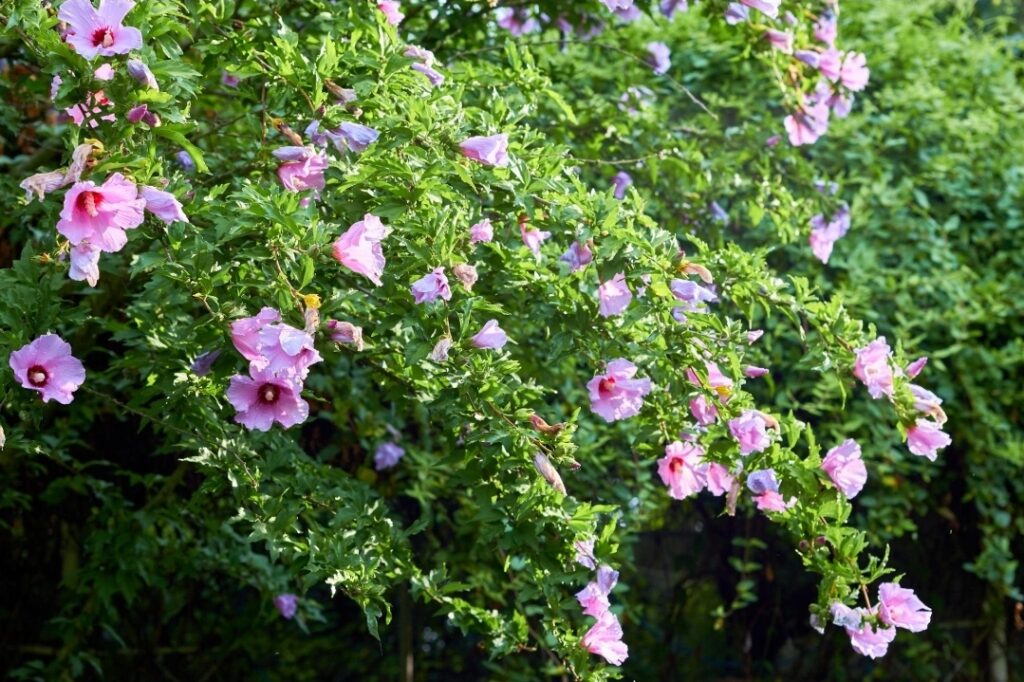
Before diving into care routines, it’s important to know which type of hibiscus you have because their needs differ significantly. Tropical hibiscus (Hibiscus rosa-sinensis) is the classic plant with glossy, dark green leaves and vibrant flowers in warm colors. It is native to warm climates and cannot tolerate frost. Hardy hibiscus (Hibiscus moscheutos), often called dinner plate hibiscus, produces enormous flowers but dies back to the ground in winter, returning each spring in cooler zones. There is also the perennial rose mallow and the shrub-like rose of Sharon. Identifying your variety will guide your care decisions, especially regarding winter protection and pruning timing.
Sunlight Requirements for Abundant Blooms
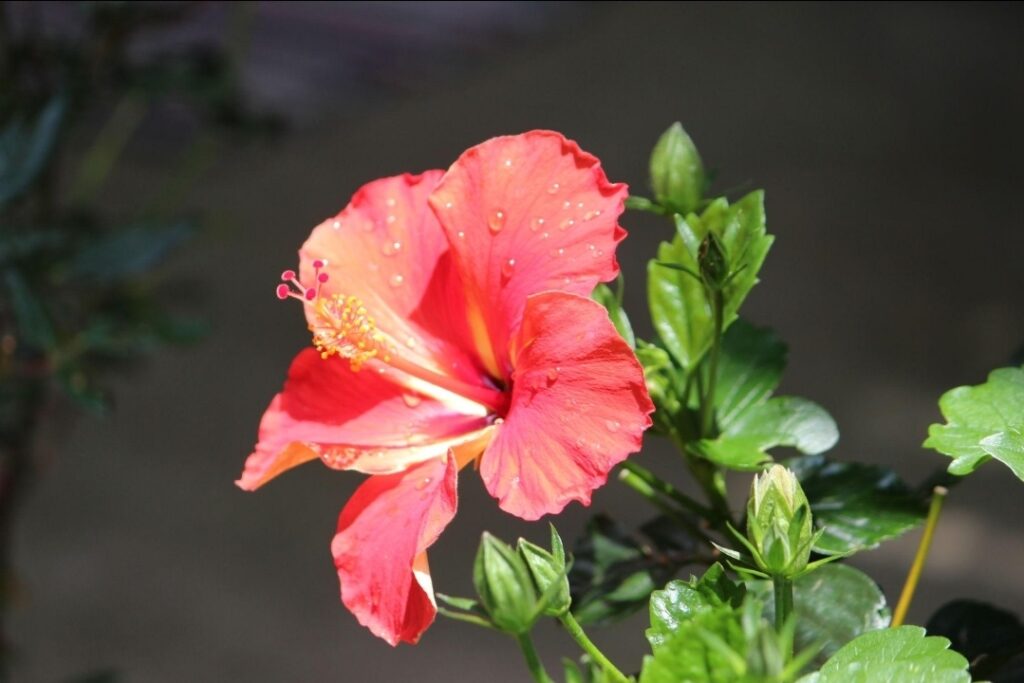
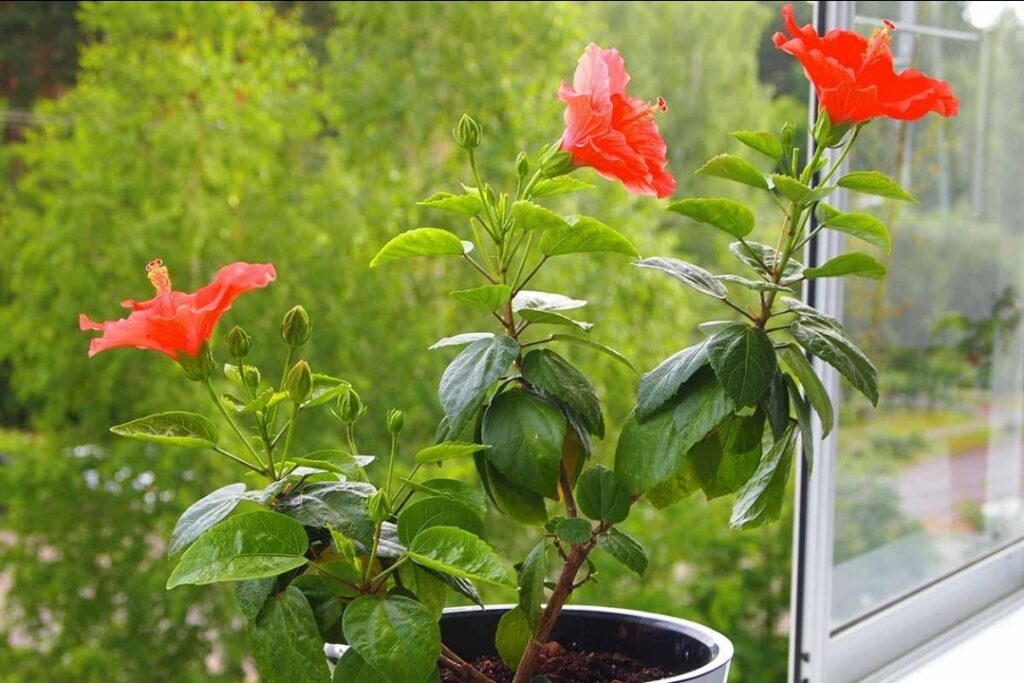
Hibiscus plants are sun lovers. To produce those signature large flowers, they need plenty of bright, direct light. Ideally, place your hibiscus where it will receive at least six to eight hours of direct sunlight each day. Tropical hibiscus thrives in full sun, while hardy hibiscus can tolerate partial shade but will bloom most profusely in bright conditions. Insufficient light is one of the most common reasons hibiscus plants fail to bloom or produce only small, sparse flowers. If you are growing hibiscus indoors, position it near a south-facing window where it can soak up maximum sunlight. During darker winter months, you may notice reduced blooming, which is normal as the plant rests.
Watering: Finding the Perfect Balance
Hibiscus plants have a reputation for being thirsty, and for good reason. They prefer consistently moist soil but absolutely cannot tolerate sitting in water. The key is to water deeply whenever the top inch of soil feels dry to the touch. During the active growing season of spring and summer, this may mean watering every day or every other day, especially if your hibiscus is in a container or experiencing hot weather. When watering, direct the water at the base of the plant to keep the foliage dry, which helps prevent fungal diseases. Use room-temperature water, as cold water can shock tropical hibiscus and cause bud drop. In fall and winter, reduce watering significantly, allowing the soil to dry out more between waterings. Pay attention to your plant’s signals—drooping leaves indicate thirst, while yellowing leaves with brown edges often suggest overwatering.
Soil and Potting Mix for Healthy Roots
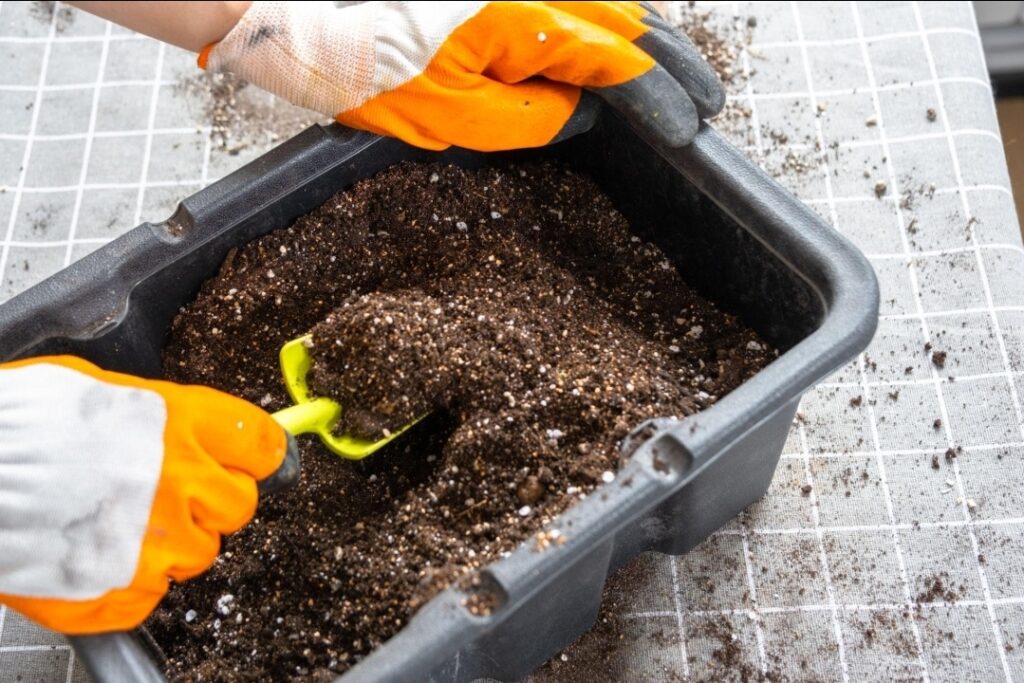
The right soil is essential for hibiscus health. These plants need well-draining, slightly acidic soil that retains some moisture without becoming waterlogged. Heavy, compacted soil that holds too much water can lead to root rot, which is one of the fastest ways to kill a hibiscus. For container growing, choose a high-quality potting mix formulated for tropical plants or create your own blend by mixing regular potting soil with perlite or coarse sand to improve drainage. Adding peat moss or coconut coir helps with moisture retention. For in-ground planting, amend your garden soil with plenty of organic matter such as compost to improve both drainage and nutrient content. Ensure the planting site does not collect standing water after rain.
Fertilizing for Bigger, Brighter Blooms
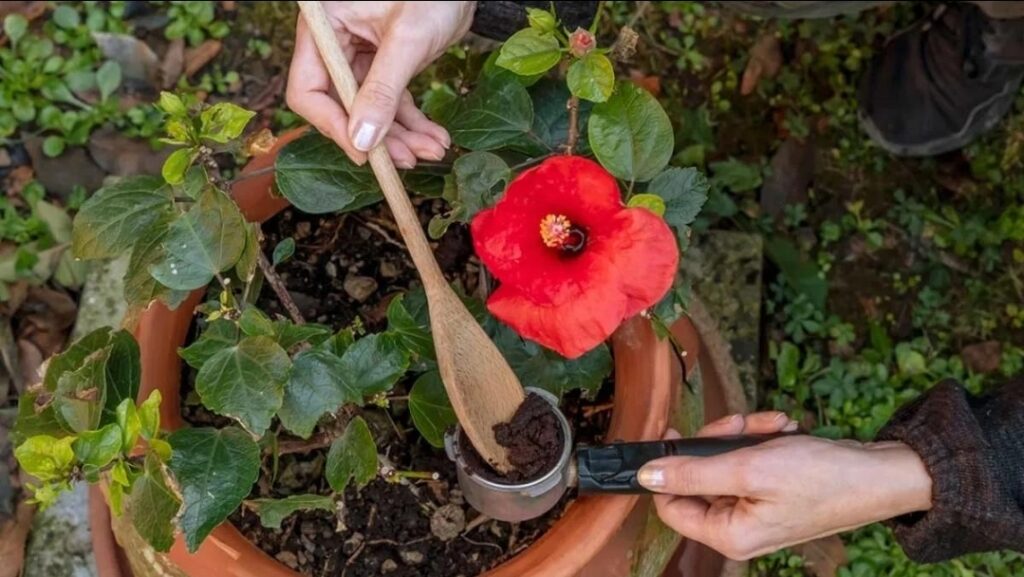
Hibiscus are heavy feeders that require regular nutrition to produce their spectacular flowers. During the growing season from spring through early fall, fertilize your hibiscus every one to two weeks with a formula designed for blooming plants. Look for fertilizers with a balanced ratio or one slightly higher in phosphorus, which promotes flowering. Avoid fertilizers with extremely high phosphorus levels, as hibiscus can be sensitive to excess phosphorus and may develop nutrient deficiencies as a result. A water-soluble fertilizer is ideal because it provides immediate nutrients. In late fall, reduce feeding frequency, and stop fertilizing altogether during winter when the plant is resting. If you notice yellowing leaves with green veins, this may indicate a nutrient deficiency that can often be corrected with a dose of balanced fertilizer.
Pruning for Shape and More Flowers
Pruning is an essential part of hibiscus care that many gardeners overlook. Hibiscus flowers form on new growth, so regular pruning encourages the plant to produce fresh stems that will bear blooms. The best time to prune is in late winter or early spring, just before the new growing season begins. Start by removing any dead, diseased, or crossing branches. Then cut back the remaining stems by about one-third to maintain a compact, bushy shape. Make your cuts at a forty-five-degree angle just above an outward-facing node, which encourages new growth to grow outward rather than inward. Throughout the growing season, practice deadheading by removing spent flowers promptly. This redirects the plant’s energy from seed production into producing new buds. For young plants, pinching back the tips encourages branching and results in a fuller plant with more flowering sites.
Temperature and Humidity Needs
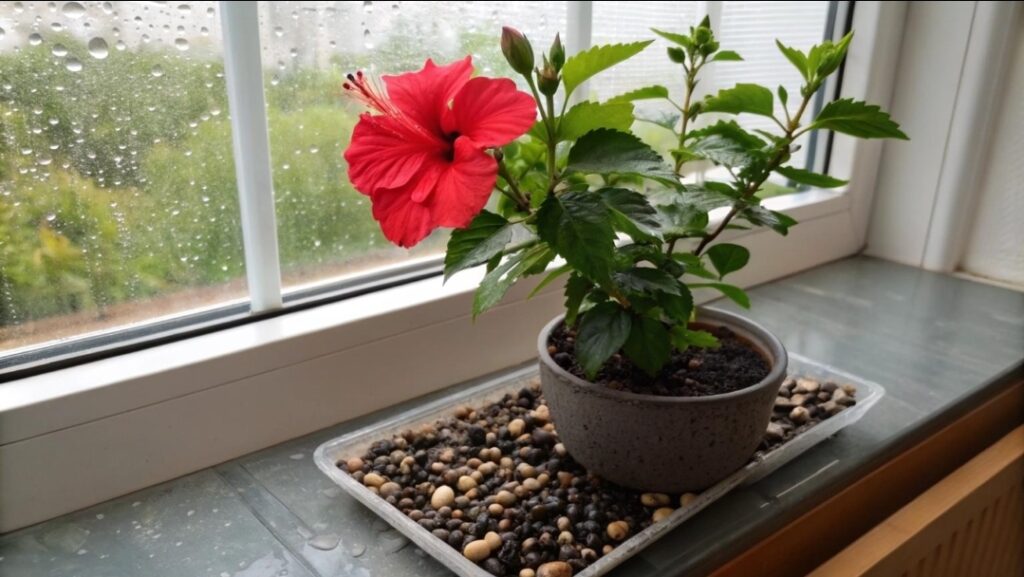
Temperature requirements vary depending on your hibiscus type. Tropical hibiscus thrives in temperatures between sixty-five and eighty-five degrees Fahrenheit and cannot tolerate frost. If temperatures drop below fifty degrees, bring your tropical hibiscus indoors or provide protection. Hardy hibiscus, on the otherly, survives winter freezes in zones four through nine, dying back to the ground and re-emerging in spring. Humidity is another important factor, especially for tropical hibiscus, which originates in warm, humid environments. In dry indoor air or arid climates, low humidity can cause bud drop, leaf curl, and reduced flowering. Increase humidity by misting the leaves daily, placing the pot on a tray filled with pebbles and water, or grouping plants together to create a microclimate. During winter, when indoor heating dries the air, using a humidifier near your hibiscus can make a significant difference.
Pest and Disease Management
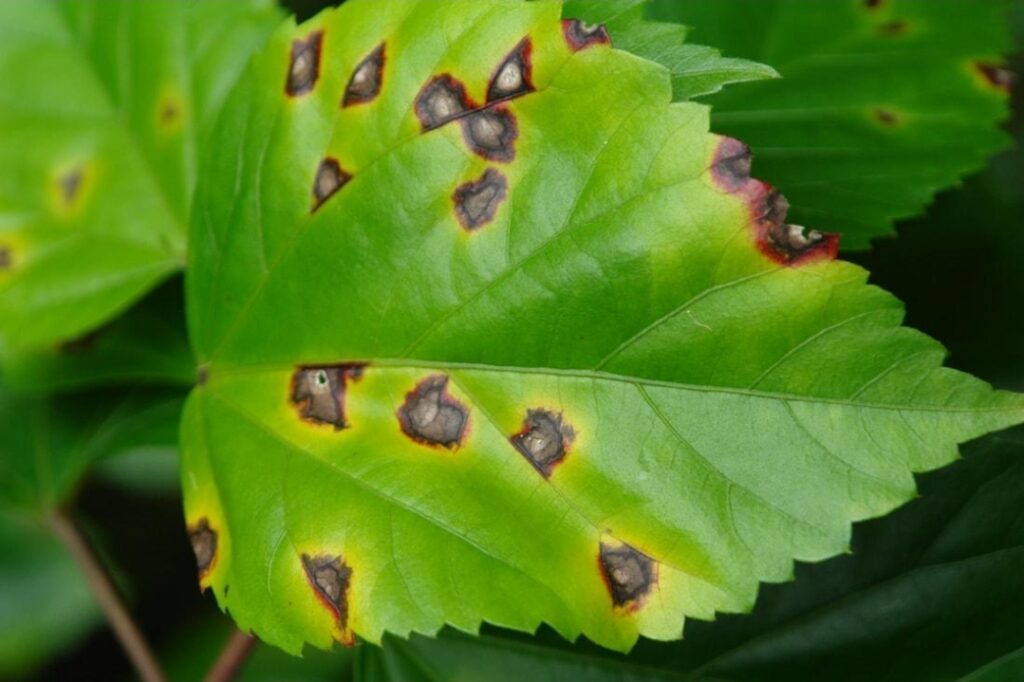
Like all garden plants, hibiscus can fall victim to various pests and diseases. Common pests include aphids, spider mites, whiteflies, and scale. These tiny invaders often hide on the undersides of leaves and along stems. Early detection is crucial. Inspect your hibiscus regularly, looking for sticky residue, fine webbing, distorted new growth, or tiny insects. For mild infestations, a strong stream of water can dislodge pests. For more persistent problems, insecticidal soap or neem oil provides effective organic control. Apply these treatments in the early morning or evening to avoid leaf burn. Fungal diseases such as leaf spot and powdery mildew can occur, especially in conditions of poor air circulation or when foliage remains wet for extended periods. To prevent fungal issues, water at the base of the plant, ensure adequate spacing between plants, and prune to improve airflow. If fungal problems appear, remove affected leaves and treat with a copper-based fungicide.
Winter Care and Overwintering
Preparing your hibiscus for winter is essential for its survival and next season’s performance. For tropical hibiscus grown outdoors, move the plant indoors before the first frost. Place it in the brightest spot available, as light levels will already be lower during winter months. Reduce watering significantly, allowing the soil to dry out more between waterings, and stop fertilizing entirely. Your hibiscus may drop some leaves and look sparse during winter—this is normal. Maintain indoor temperatures between fifty-five and sixty-five degrees if possible. In spring, gradually reintroduce the plant to outdoor conditions through a process called hardening off, moving it outside for increasing periods over one to two weeks. For hardy hibiscus, after the first frost, cut the stems back to about four to six inches above ground level. Apply a thick layer of mulch over the root zone to protect the plant through winter. New growth will emerge from the roots in spring.
Encouraging Continuous Blooms
To keep your hibiscus flowering continuously from spring through fall, consistency is key. Maintain a regular watering schedule, never allowing the soil to dry out completely. Provide consistent feeding with a bloom-promoting fertilizer every one to two weeks during the growing season. Remove spent flowers promptly to prevent the plant from putting energy into seed production. Ensure your hibiscus receives adequate sunlight—if it is not blooming, insufficient light is often the culprit. Additionally, avoid moving your hibiscus frequently, as these plants can be sensitive to changes in location and may drop buds in response to stress. With consistent care, your hibiscus will reward you with wave after wave of magnificent blooms.
Common Problems and How to Solve Them
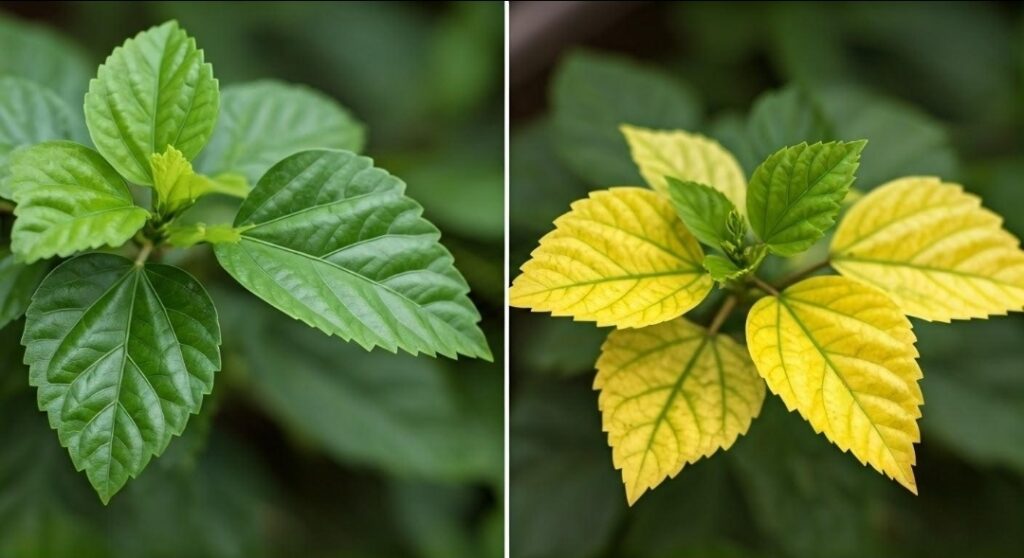
Even with excellent care, hibiscus plants can sometimes struggle. Yellowing leaves often indicate overwatering, especially if the yellowing starts with the older leaves. Allow the soil to dry out more between waterings. Bud drop before flowers open is frustrating and usually caused by inconsistent moisture, low humidity, or pest infestations. Maintain even soil moisture, increase humidity around the plant, and check carefully for aphids or spider mites. If your hibiscus has plenty of leaves but no flowers, the most common causes are insufficient sunlight or too much nitrogen fertilizer. Move the plant to a sunnier location and switch to a fertilizer with higher phosphorus content. Wilting leaves can signal either underwatering or root rot—check the soil moisture to determine which. Pale, stippled leaves often point to spider mites, which require immediate treatment with neem oil or insecticidal soap.
Propagating Hibiscus for More Plants
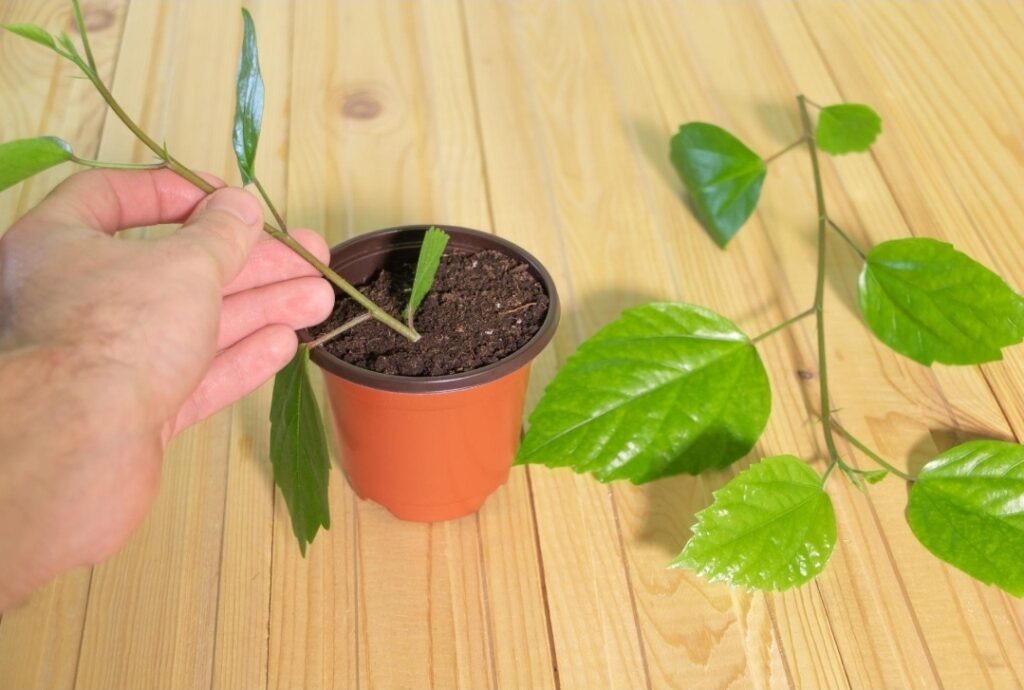
Once you have mastered hibiscus care, you can multiply your collection through propagation. Taking cuttings is the most reliable method. In spring or early summer, select a healthy, non-flowering stem and cut a four to six inch section just below a node. Remove the lower leaves, leaving two or three leaves at the top. Dip the cut end in rooting hormone to encourage root development, then plant it in a small pot filled with moist, well-draining potting mix. Cover the pot with a clear plastic bag or humidity dome to maintain moisture, and place it in bright, indirect light. Roots typically develop within four to eight weeks. Once the cutting shows new growth, you can transplant it to a larger pot and care for it as you would a mature hibiscus. This is a rewarding way to expand your garden or share plants with friends.
Conclusion
Caring for hibiscus is a journey of patience, observation, and reward. These magnificent plants communicate their needs clearly through their leaves, buds, and blooms. By providing abundant sunlight, consistent moisture, proper nutrition, and protection from pests and temperature extremes, you create the conditions for your hibiscus to thrive. The payoff is immeasurable—weeks and months of stunning, oversized flowers that transform your garden or home into a tropical paradise. Whether you are nurturing a single potted plant on a balcony or cultivating a collection of hardy varieties in your garden, the principles of hibiscus care remain the same. Watch your plant closely, respond to its signals, and enjoy the spectacular show it provides in return. With dedication and these essential care tips, your hibiscus will reward you with bigger, healthier, and more abundant blooms season after season.